Better Video Call Lighting Without Rebuilding Your Desk
Use window direction, a simple diffuse light, and a camera preview to improve your everyday call setup.
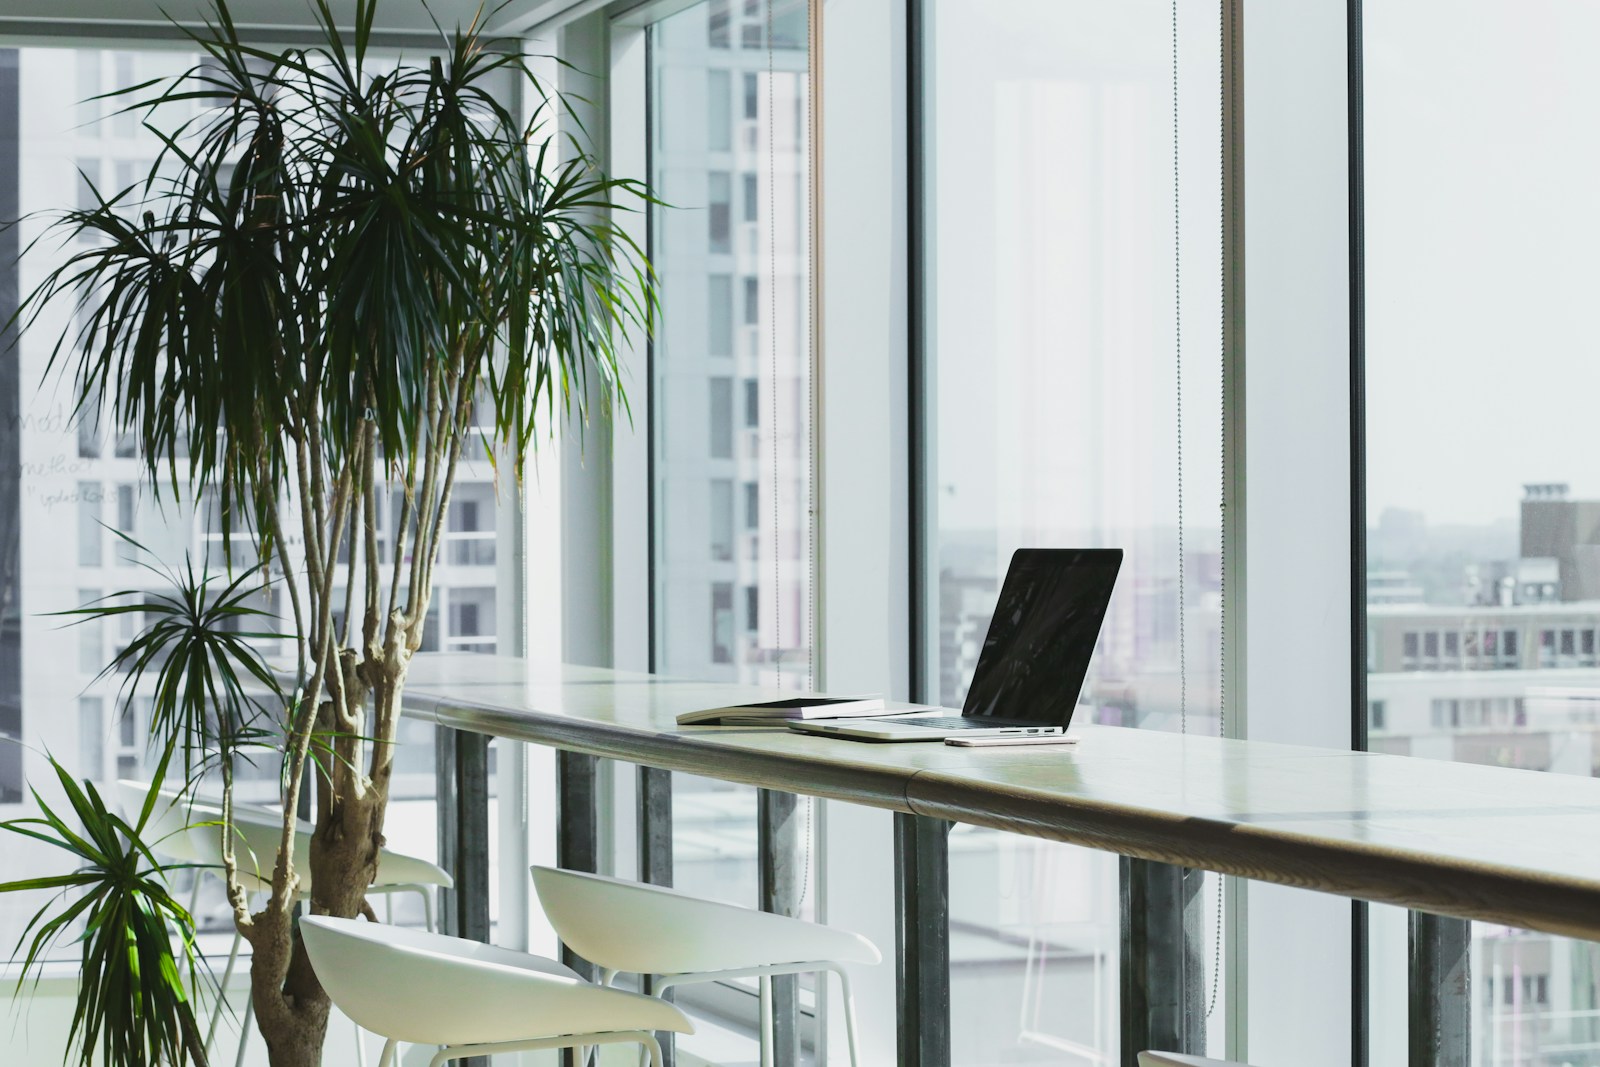
Video call lighting is mostly a placement problem. A bright window behind you can leave your face dark, while a small exposed light close to the camera can look harsh or reflect in glasses. Before buying a streaming kit, look at where the room light comes from and what the camera actually sees.
The aim for an ordinary work call is a face that is easy to see, a background that does not dominate, and light you can use comfortably during the meeting. The steps below are practical setup suggestions, not a claim that a particular lamp or webcam has been tested.
Before you choose
- Check the camera preview at the time of day when you normally take calls.
- Start with broad, diffuse light in front of you or slightly to one side.
- Control a bright background and visible reflections before adding more brightness.
Use the preview as your starting point
Open the camera preview in the application you actually use. Sit in your normal position and look at the face, background, and reflections separately. Check whether one side of the face disappears into shadow, whether a window dominates the picture, and whether the light source is visible in glasses or a glossy object behind you.
Make one change at a time so you can see what helps. Automatic exposure can hide the effect for a moment, so let the image settle after an adjustment. A camera upgrade may improve some aspects of the image, but it will not remove an inconveniently placed window or turn a tiny exposed light into a broad, diffuse source.
Work with the window before adding equipment
If the room allows it, place yourself facing the window or with the window somewhat to the side of the camera. Avoid treating that as a rigid rule: direct sun can be too strong, and the useful arrangement changes with the time of day. Curtains or blinds give more control than simply increasing camera exposure.
If the window must stay behind you, reduce its visible brightness with an appropriate covering and provide useful light from the front. Do not sacrifice the rest of the workspace just for one camera angle. A repeatable arrangement that can be adjusted quickly before a meeting is more useful than a perfect position that blocks normal desk work.
Add one diffuse source when necessary
A small panel with a diffuser, a shaded lamp aimed appropriately, or another broad controllable source can add light near the camera. Start slightly above or beside the camera and use modest brightness. Move and dim it while watching the preview. A light does not need to be aimed directly at your eyes to help the picture.
A ring light is convenient because it surrounds the camera, but it is not automatically the best choice. It can create conspicuous circular reflections in glasses. A separate panel offers more freedom to move the reflection out of view, although it needs a mounting point and desk space. Choose the physical format around your actual room.
Manage glasses, mixed light, and the background
If a lamp reflects in glasses, adjust the lamp position and angle while keeping a natural sitting posture. Raising it or moving it farther to the side may help. Avoid solving the reflection by tilting your head awkwardly throughout a meeting. Check the screen itself as another possible source of bright reflected rectangles.
Mixing strong daylight with a very warm lamp can give the camera uneven colors across the face. Color-temperature adjustment can help bring sources closer in appearance, but it is not a requirement for every setup. Keep the background reasonably balanced and remove exposed bright bulbs from the frame when they distract from the person speaking.
Make the setup easy to repeat
Choose a power and mounting arrangement that stays out of the keyboard area and does not block the monitor. A clip designed for a monitor may not suit a thin laptop display. Check weight, mounting compatibility, and cable slack before attaching anything. Use the supplied diffuser and mounting hardware according to the manufacturer instructions.
Test the arrangement during daytime and evening calls. Save useful camera settings when the application permits, but expect changing daylight to require adjustment. Look for flicker or visible bands in a recording or preview and follow the camera and lamp instructions for anti-flicker settings. A product that behaves well for reading may not look identical through every camera.
Options for the way you work
These are product types to compare, not hands-on test winners. Each link opens a retailer search where you can check current specifications, availability, and seller terms.
Dimmable diffuse light panel
Best for: Regular video calls with variable daylight and limited front lighting.
The tradeoff: Needs a suitable mount and careful positioning to avoid reflections.
Check current options (opens a new tab)Adjustable shaded desk lamp
Best for: Occasional calls where one lamp can also serve general desk tasks.
The tradeoff: The shade and beam must work for facial illumination; a narrow task beam may not.
Check current options (opens a new tab)Compact ring light with stable mount
Best for: A fixed camera position where its reflection is not distracting.
The tradeoff: Can produce obvious reflections in glasses and takes space around the camera.
Check current options (opens a new tab)A few common questions
Do I need two lights for a work call?
Often not. Controlled daylight or a single well-placed diffuse source can be enough for a clear image. Add another source only when the preview reveals a problem that the first cannot address through placement.
Why does my face look dark next to a bright window?
Automatic camera exposure may prioritize the bright background. Reduce the background brightness, change the angle when practical, or add suitable front light. Check the preview after each change.
Will a lamp marketed as flicker-free always look clean on camera?
Camera exposure and the light control electronics can interact. Marketing language alone does not guarantee performance at every brightness level and camera setting. Test the actual combination during the return period.
Sources & further reading
Published references used to inform this guide. Product requirements can change; check the documentation for your exact equipment.
This article does not claim laboratory testing or personal ownership of the products discussed. Send a correction.